Western Digital (WD) is known for producing reliable hard drives for different usages. It has a long history in the storage industry and develops different lines of hard drives for specific purposes. However, due to various reasons, you may face a data loss issue on your WD hard disk. This article gives you a full guide to Western Digital data recovery, explaining the possible causes of data loss and sharing helpful methods to retrieve deleted and lost files.
The data loss on Western Digital hard disk issue may happen due to a variety of reasons. Before we delve into Western Digital data recovery, I would like to talk about several common causes in the first part.
File system corruption is a big reason why files may get lost on your Western Digital drive. Errors in the file system structure will cause data to be inaccessible. Software errors, improper shutdowns, and virus attacks will lead to this data loss problem. If you mistakenly format the Western Digital hard disk, all data on it will be erased. Moreover, the drive's firmware issues may cause malfunctions and data loss. In some cases, the data loss on the Western Digital hard disk is due to your improper operations. For instance, when you force connections or do not use proper ESD protection, that can cause damage and data loss.
Sometimes, sudden power failure or spikes in voltage can damage the drive's electronic components and lead to file system corruption. Besides these software and electrical issues, physical damages and hardware problems can also cause data loss on your Western Digital hard disk. If you accidentally drop the storage drive during operation, that may damage internal components like the read/write heads or platters. What’s more, liquid damage and extreme temperatures can damage the WD hard disk. All your files on the damaged drive can’t be accessed unless it is repaired to normal.
When you notice that some important files are lost on your Western Digital hard disk, you may wonder if the warranty covers related data recovery services.
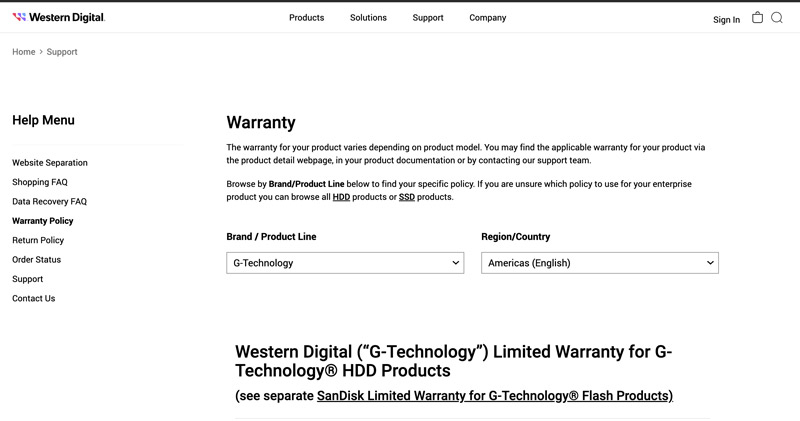
The fact is that Western Digital's standard warranty does not cover data recovery services. If your WD device is faulty and under warranty, it may be repaired or replaced. However, the replacement will not carry your data in the previous drive. You can go to the official Warranty page and enter your product model to check details.
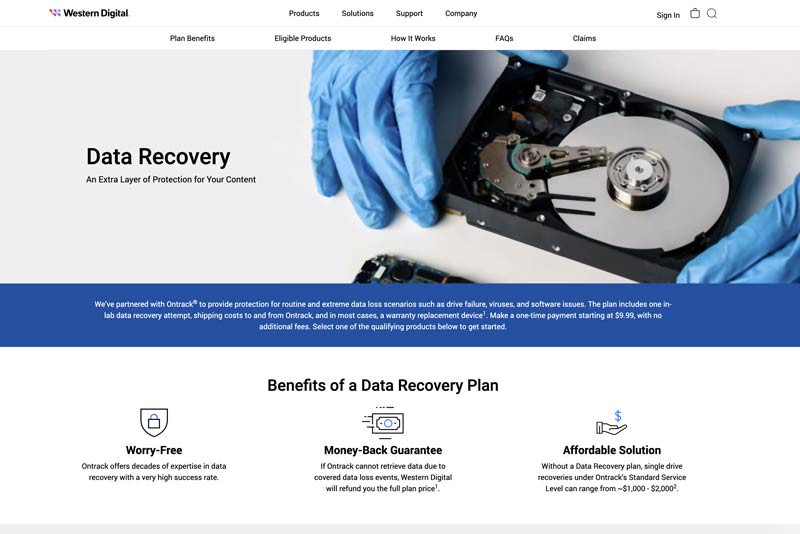
If you have a Seagate hard drive, you can use its official Seagate Rescue Data Recovery Services to recover lost files. When it comes to data recovery on a Western Digital disk, you need to get assistance from its partnered Ontrack. To get detailed information, you can go to the specific Data Recovery page.
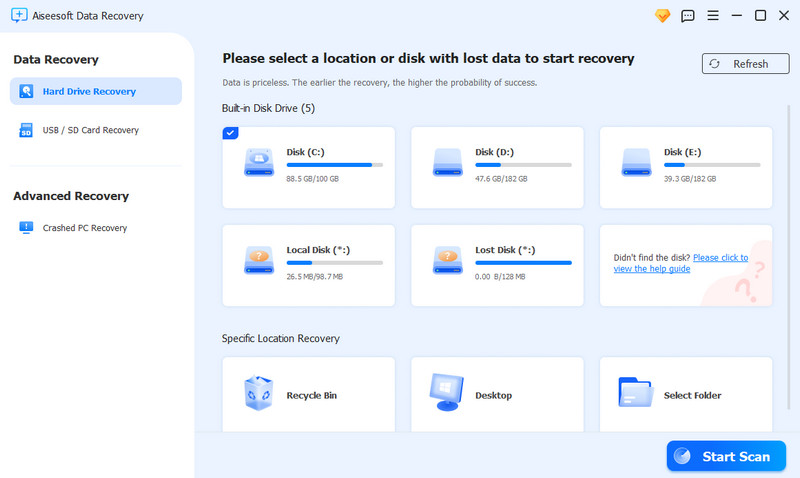
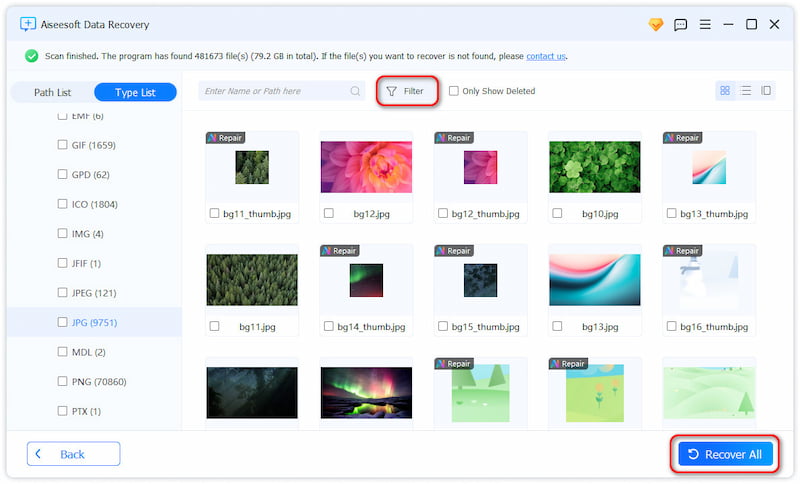
As mentioned above, Western Digital does not offer data recovery services in the standard warranty. If you experience data loss, you may need to use its recommended third-party service or company. However, compared to many other data recovery tools, official recommendations like Ontrack, DriveSavers, and Secure Data Recovery Services are much more expensive. You’d better start with a cheaper and more reliable one like Aiseesoft Data Recovery. It lets you scan your external WD hard drive thoroughly to find all lost and erased files for free. Moreover, it allows you to preview the file details before the final recovery.
100% Secure. No Ads.
100% Secure. No Ads.
Question 1. How to recover data from a corrupted Western Digital hard drive?
It is possible to access and rescue data from a corrupted Western Digital hard drive. You should identify the corruption first. Then, use the correct data recovery method or software to recover lost files. If your WD drive is still under warranty, try contacting the official Western Digital support for assistance. They will offer related data recovery services. For severe corruption or physical damage, you’d better turn to professional data recovery companies.
Question 2. Does Western Digital provide free data recovery services?
No, Western Digital generally does not provide free data recovery services, even if your drive is still under warranty. They will charge for the recovery services. Some warranties may include limited data recovery services, but these are usually subject to specific conditions.
Question 3. Can the WD hard disk be repaired?
Whether your WD hard drive can be repaired or not depends on various factors. If the Western Digital device has logical issues like software errors, file system corruption, or accidental deletions, it can usually be fixed. You can rely on reputable software like Aiseesoft Data Recovery to repair it and restore lost files. However, when the WD hard drive gets physical damage like platter scratches or head crashes, it may not be easy to repair. For some physically damaged drives, it is quite expensive and not always successful to fix.
Conclusion
After reading this Western Digital data recovery post, I hope you can find your lost files back. For these valuable files, besides your external hard drive, you’d better back up them to a cloud storage service to prevent future incidents.

Aiseesoft Data Recovery is the best data recovery software to recover deleted/lost photos, documents, emails, audio, videos, etc. from your PC/Mac.
100% Secure. No Ads.
100% Secure. No Ads.