Do you want to make some videos that record the time changing of the wonderful world? Do you want to remain some amazing scenes and share with your friends or relatives? There is a new tech skill called iPhone Time-lapse that used in iPhone Camera app via iOS 8 or later versions to catch the dynamic photos to produce a film that is faster than slow motion as usual.
Now the article introduces Time-lapse and the procedures on how to record them on iPhone step by step to you, especially for the beginners. So just read the article and get the ideas about how to make Time-lapse on iPhone.

iPhone Time-lapse
Before you start to make iPhone Time-lapse video, you should know two questions in your mind. Then you will have a clear mind to start the steps and know the meaning of how and why you do the iPhone Time-lapse video.
Time-lapse video is not a new thing. Since French filmmaker Georges Méliès first utilized the technique at the turn of the 20th century. It has been around but it only recently came to the iPhone 6 and iPhone 6 Plus (as well as other iOS-compatible iPhones) via iOS 8 through third-party apps to show its amazing features. After being backed directly into the iPhone Camera app, it can snap dynamic photos directly to produce a film or video that is opposite of slow motion as usual at selected intervals.
You can snap the rising sun in every morning, capture the running cloud under a big tree, watch the flower that is about to bloom, observe a snail climbing green stem leaf and so on. Our eyes can watch most of the scenes. Because of the process of iPhone Time-lapse video is too slow and endless, actually it is uninteresting that few people would like to spend much time on it.
In order to solve the problem and make it easily to record the process and make it more evident, we use the tech skill (iPhone Time-lapse) to record subtle changes, which can be seen with human eyes. If someone wants to watch stars outside the earth, please use other advanced devices and professional instructions.
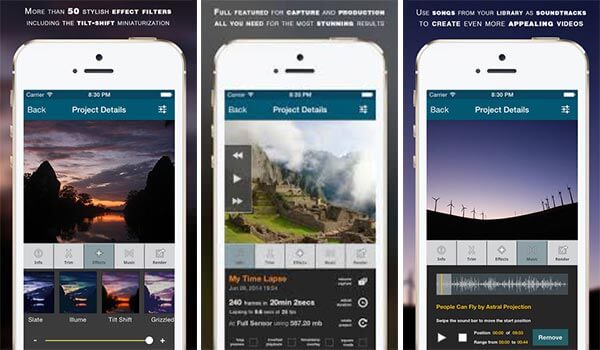
Step 1 Download Lapse It Pro app
If you are using iPhone 6s/7/7 Plus/8/8 Plus/X, you can use naive Camera app to make and edit Time-lapse Videos without problem. Of course, even if you are using Android phone, you can download Lapse It Pro for the device first.
Step 2 Find You Scene for Time-Lapse
Choose a subject, which is considered meaningful and interesting especially the scene that can by watched by human eyes, but it really needed much time to cost. For example, you can snap the moving cloud, but it only being cloud in camera is really boring. We recommend you can choose a tree as background to underline the moving cloud.

Step 3 Set up Your Equipment
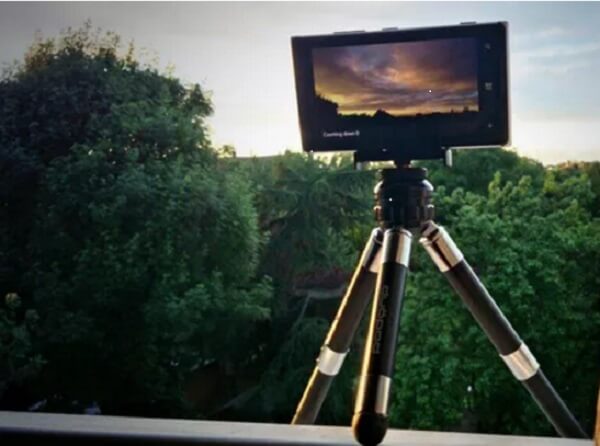
You should do is that you should set your iPhone in one place which is still perfectly and can be set for a long moment. We recommend you use something can hold up you iPhone or use a tripod or iPhone stabilizer to get the best result for the time-lapse videos from iPhone.
Step 4 Fire up the App
Set your phone to airplane mode to avoid some interruptions. For example if you are making a Time-lapse on iPhone, but a calling suddenly is in, it will really destroy the video. Then start a new video in Lapse It Pro app, hit "New Capture" (the Windows Phone version simply has a '+' symbol). Open the lens to snap the scene.
Step 5 Render and Export
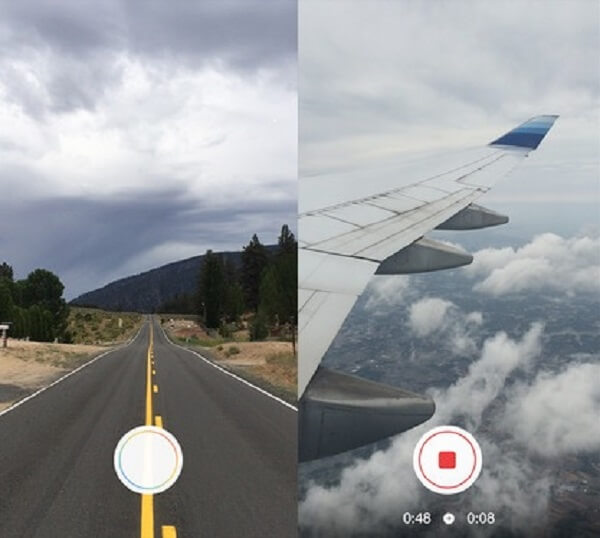
If you have taken several thousand photos over many hours to make Time-lapse video on iPhone, we recommend you should choose a high frame rate. Because the higher the frame rate, the faster your scene will look. But the Windows app maxes out 30 frames per second; you can use iMovie or Windows Movie Maker to speed up the frame rate manually. You can share your iPhone Time-lapse video on Facebook or other social networks.
As a beginner, we will put forward 6 steps which is carefully enough to help you out some problems you have met during the process of Time-lapse video on iPhone. Then there are several steps you can follow up.
Step 1 Check Power of iPhone
Check your iPhone to make sure that it has enough power to snap Time-lapse video. It is really not OK when you are ready enough but without enough power, or during the process it suddenly power off. So before start making an iPhone Time-lapse video, please make sure your iPhone is ready.
Step 2 Select the Time-lapse Mode
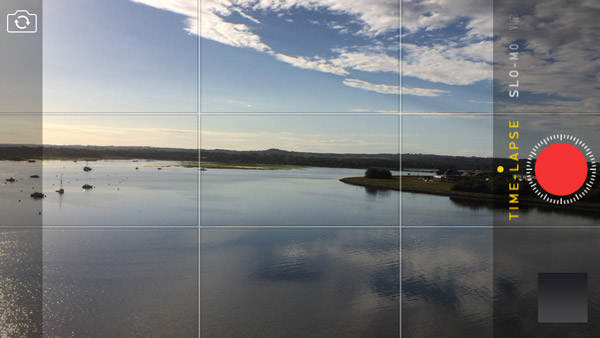
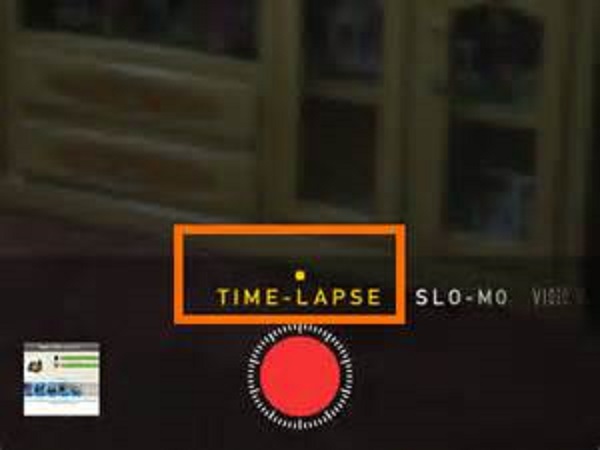
Everything is ready. Then you start by opening the camera app, swiping your finger right to select the Time-lapse shooting mode. Just like take photos as usual, you can set the focus and exposure for the relevant scene, or you can swipe up and down to adjust the focus and exposure.
Step 3 Start to Record Time-lapse video
When start to shoot, you can press the red button in the camera app to start recording process. Then you will find a rotating indicator near the start button which means that your iPhone is starting recording Time-lapse.
Step 4 Finish and View the Time-lapse Video
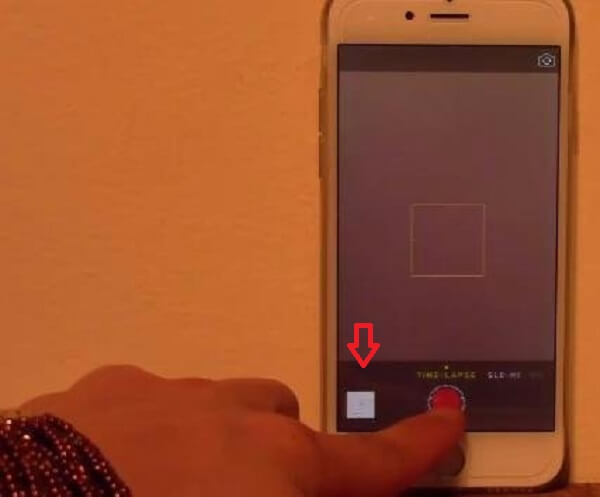
When you finish the Time-lapse video on iPhone, just press the red button again to end the video. After ending the iPhone Time-lapse video, you can find the video in the bottom corner of the app window or in the Time-lapse album in the Photos app.
Making Time-lapse video on iPhone is really easy. But as a beginner, we recommend following instruction step by step is a fast and the best way to acquire the tech skill. Just start your fingers and spending some time in recording something interesting. Recording the Time-lapse video on iPhone, you will a wonderful life around you. If you have any questions you would like to contribute, please share your feedback in our comments. Thank you for your views.