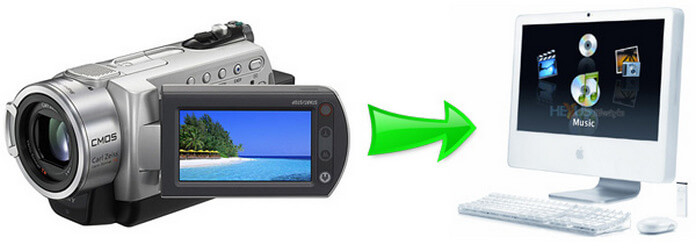
You may be ready to make a movie after you capture great footage with your FireWire camcorder. In this condition, you need import your camcorder to your Mac.
More specially, you need to connect your camcorder to your Mac, and then copy footage from the camcorder into iMovie.
When you import video into an iMovie project, it would divide your video into individual clips for the easy editing.

1Connect camcorder to your Mac computer with cable (USB/Wifi).
2Select mode of camcorder such as PC/Computer mode.
3iMovie will automatic open Import window.
4If DVD Player automatic open. Just quit DVD Player first.
5So now, you can review your video or select "Import All"(make sure your switch is set to "Automatic").
6If you select "Manual", you can import some clip to iMovie.
7If you import from Tape based device (DV/HDV), iMovie will automatic revise tape and import all.
8 iMovie automatic create thumbnail video after complete import.
iMovie automatically detects your camcorder
iMovie will automatically detect when you have a FireWire camcorder connected. If you see the message No Camera Attached, make sure your camera is turned on and properly plugged in to your computer via a FireWire cable and that your camcorder is set to VCR, VTR, or Play mode. You can also click the Connection Help button for more suggestions.
iMovie supports different video formats
When you create your project, choose the appropriate video format depending on your needs. For importing video from your camcorder, choose between DV, DV Widescreen, HDV 1080i, and HDV 720i. For recording from your iSight, select iSight. If you will be copying MPEG-4 files from your PDA or phone, select MPEG-4.
Import directly to the iMovie timeline
You can import footage directly from your camcorder to the iMovie timeline rather than to the Clips pane. This is a quick and easy way to get your footage into your iMovie project. You can then edit right in the timeline. From the iMovie menu, choose Preferences, click Import, and then choose the option Place clips in Movie Timeline.
If you're importing video that is already edited
Instead of importing your video as separate clips, you can set iMovie to import your video as a single clip. This may be useful if you're importing a movie that you've already edited and you just want to change a small portion.
From the iMovie menu, choose Preferences, click Import, and then deselect the "Start a new clip at each scene break" option.
If you prefer, select "Limit scene length to" and set a limit for the number of minutes. This will ensure your imported files don't get too large, in case you'll be copying clips between iMovie projects.
What you need to make a high-definition video with iMovie
High definition video is quickly becoming the format you see broadcast on TV. An HD camcorder stores more pixels than a standard camcorder, letting you see more detail in your video footage.
iMovie supports importing and editing video on Mac from HD camcorders (HDV 720p and 1080i), so you can make movies just like the pros-and it's a great way to archive your most precious life events in the highest resolution possible.
Using video from an MPEG-4 camera
Many digital still cameras, PDAs, and mobile phones let you record short videos in the MPEG-4 format, a standard compression that is used to significantly reduce the file size of video. While iMovie doesn't know how to import video from these devices directly, as it does with FireWire devices, you can still use the MPEG-4 files once you've copied them to your Mac. Just drag them into the iMovie Clips pane using the Finder or import them using Import from the File menu.
Monitor the remaining amount of hard disk space
Digital video clips use a large amount of hard disk space. For example, five minutes of DV footage uses approximately 1GB of space. The same amount of HD video can occupy between 2GB to 4GB, depending on the format and footage. To save hard disk space, import and edit your video in sections instead of trying to do so all at once. You can see how much space remains on your hard disk by using the monitor located in the lower-right corner of the iMovie window.
Using video from your connected or built-in iSight camera
You can record video directly into your iMovie project with your iSight camera. That's to say, you can add clips to your project spontaneously while you're working on it. Just connect your iSight camera to the FireWire port of your Mac and you're ready to start recording. If you have more then one camcorder connected, such as a camcorder and an iSight,- or you have an iMac with a built-in iSight-choose iSight from the pop-up menu that appears when you switch to camera mode.
From the above description, one thing you may notice that, using iMovie to add video from camcorder to Mac is a little difficult. So here we will recommend you another one easy too, Mac Video Converter Ultimate, to help you make it.
Check this video show to use this software to add video from camcorder to Mac.