Note
iPhoto can only help you sync Camera Roll photos from iPhone to Mac. If you want to transfer photos from Photo Library to Mac, you can go back to the first method.
If you are searching for how to transfer photos from iPhone to Mac, this article will do you a great favor. Many people, especially the new users of iPhone and Mac do not have a clear understanding of the data transferring between iPhone and Mac. This article provides several simple ways to help you transfer photos from iPhone to Mac. With these methods, you can back up photos, recover lost/deleted pictures, or edit iPhone photos on Mac with ease.
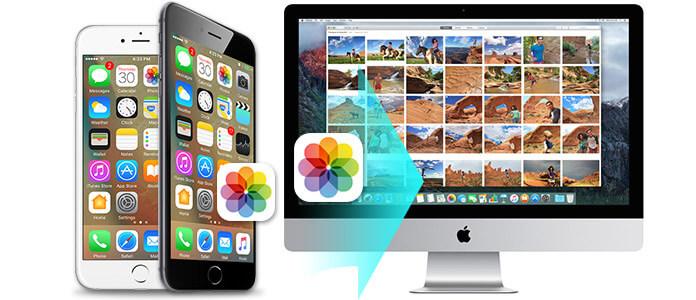
How do I transfer photos from iPhone to Mac? Actually, there are quite a few methods you can use to make the pictures transferring from iPhone X/8/7/6/5/4 to Mac. The most recommended way is to use a powerful photo transfer tool. To make sure transferring your iPhone photos to Mac easily and quickly, a professional iPhone to Mac photo transfer will be necessary for you. Mac FoneTrans will be your best assistant. With this powerful software, you can easily achieve such functions as below:
Now we back to the question, how to transfer photos from iPhone to Mac with FoneTrans? Free download this program and follow the steps below.
Step 1 Install and open Mac FoneTrans, connect iPhone to Mac with USB cable, and your iPhone information will be shown on the main interface.
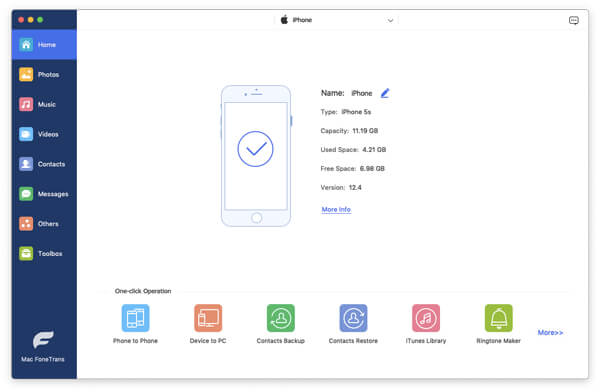
Step 2 All iPhone files will be scanned and listed as categories on the left column. Choose "Photos" and you'll see view all photo files on your iPhone, including photos in Camera Roll, Photo Library, Photo Stream, and more.
Step 3 Choose the photos you want to transfer from iPhone to Mac. Click "Export to" > "Export to Mac" in the toolbar. A few seconds later, you can see iPhone photos transferred to Mac successfully.
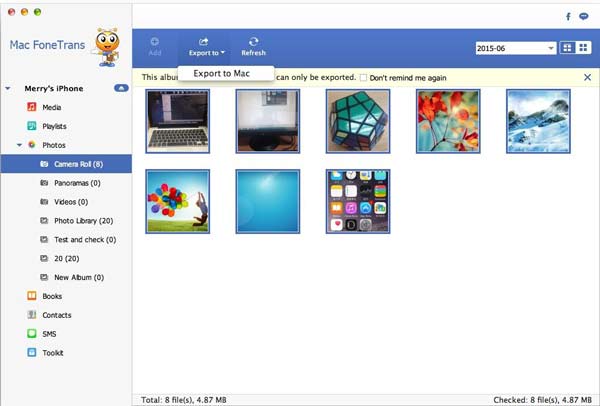
The above process shows you how to export and transfer photos pictures from iPhone to Mac, if you are using a Windows computer, you can free download its Windows version and check: how to transfer photos from iPhone to computer.
Another method for people to move their iPhone pictures to Mac is to use iPhoto. When you decide to import your photos from iPhone to computer, you can do that with your iPhoto on your Mac.
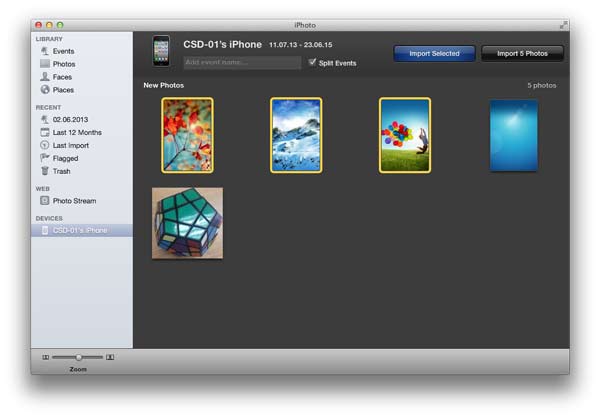
Step 1 Connect your iPhone to your Mac with the USB cable, the iPhoto will recognize you iPhone automatically and shows it on the left side of the iPhoto interface.
Step 2 Choose the photos which you want to copy to Mac, click "Import Selected" to copy your photos from your iPhone to Mac.
Note
iPhoto can only help you sync Camera Roll photos from iPhone to Mac. If you want to transfer photos from Photo Library to Mac, you can go back to the first method.
Similar to the second method, there is also a shortcut to copy your iPhone pictures to Mac. You can transfer photos from iPhone to Mac with the built-in preview feature.
Step 1 Connect your iPhone to your Mac with the USB cable, launch your Preview. Now go to the "File" menu and choose "Import from (your iPhone's name)..."
Step 2 Select your photos and click "Import" or click "Import All", choose the destination.
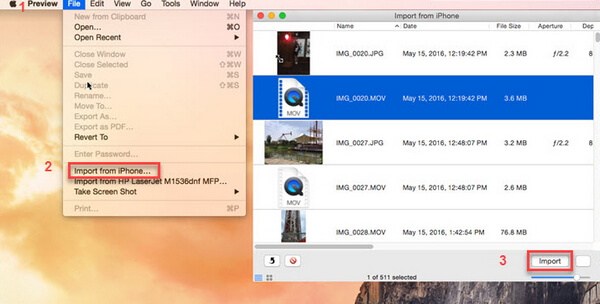
With this method, you can also handily move pcitures on iPhone to Mac. If you only want to make the pictures transferring, this preview feature can be a good option.
We have introduced three methods to help you transfer photos from iPhone to Mac. Out of all three methods, we encourage you to use Mac FoneTrans to export iPhone photos to Mac. What makes it outstanding to transfer photos from iPhone to Mac? As we have disscussed before, using iPhoto or Preview feature, you can only sync photos from iPhone camera roll to Mac. If you want to transfer all your Photo Library images,you need to adopt the first method.
In this article, we mainly introduced you three methods to help you transfer iPhone photos to Mac. Of course there are also other methods out there, to name one example, you can transfer "Camera Roll" photos to Mac with Image Capture feature, but that is troublesome. All in all, we highly recommend you to use the first method to transfer all photos from iPhone to Mac, if you have any questions, feel free to leave your comments down below.