Along with the development of technology, aren't we turning out to be lazy bones? We are used to take screenshots instead of taking notes or tapping the contents. Screenshot, also called screen capture, is refer to the picture of whatever it is that you're looking at on your monitor. When you want to save or share something, taking a screenshot can be a very convenient way.
Here comes the questions, how to take a screenshot on Mac/Window 10/8/7 PC? How to screenshot on Android/iPhone? In fact, taking the screenshot is simple, as you'll see below. Just keep reading to learn how to screenshot.

Compared with Windows computer, you may feel a little bit hard to take a screenshot on Mac. The truth is, you can handily screenshot on Mac with several simple ways. Now you can check how to screen on Mac from the following two methods.
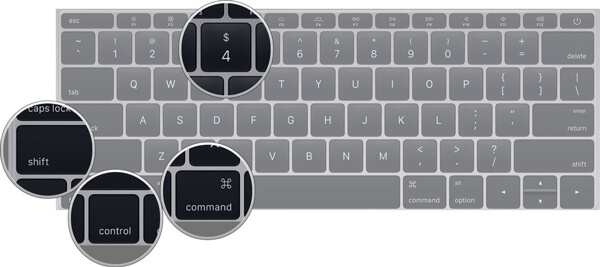
Full screen capture: Press Command + Shift + 3 and the image of the current screen will be saved in full resolution as a PNG file on your desktop.
Partial screen capture: Press Command + Shift + 4 and your mouse will change into a crosshair. Select the snipping area by holding down and dragging your mouse, and then release the mouse button.
Individual window, menu and icon: Press Command + Shift + 4 + Spacebar, and then click the window, menu, or icon you intend to capture.
Similar to Windows Snipping Tool, Grab can be considered as the built-in snipping tool for Mac. It has various modes like "Selection", "Window", "Screen", and "Timed Screen".
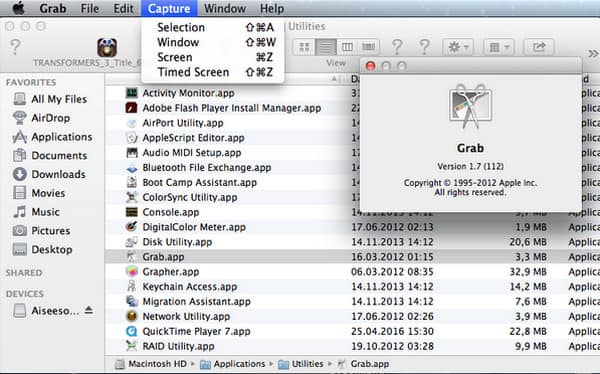
Click "Finder" > "Applications" > "Utilities" > "Grab" to open Grab
Click "Capture" and then choose the suitable capture mode to take a screenshot on Mac.
Taking a screenshot on PC is nothing new. But how to screenshot on Windows 10/8/7/XP is still one of the most frequently asked questions. Learn how to take a screenshot on PC in this part.
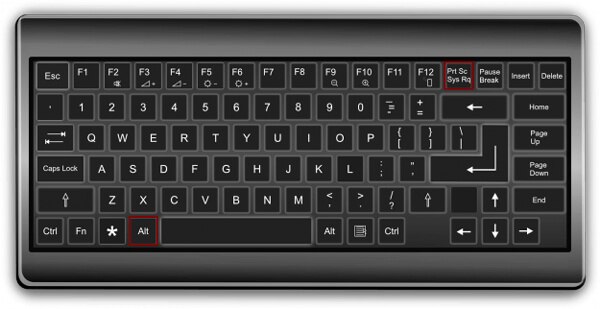
Pressing both the "Windows" and "Print Screen" key at the same time.
This operation will capture the entire screen and save the image to a "Screenshot" folder inside of the Pictures library.
When you want to take a screenshot on Windows 7 computer, you can also use the "Print Screen" key. If you want to copy a specific window, you can press "Alt" and "Print Screen" key at the same time.
With this method, you need to paste the screenshot in a program like Paint or Adobe Photoshop.
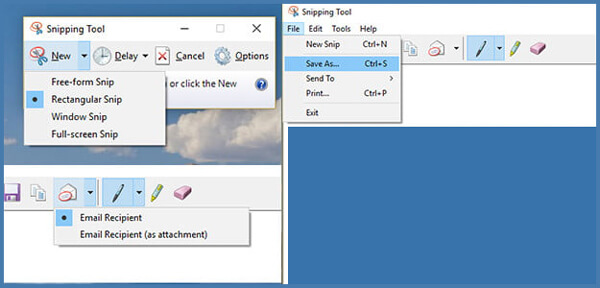
With the same way, you can take a screenshot on Windows 7 PC. What's more, you can use the Snipping tool.
Click the "Start" button, select "All Programs" > "Accessories" > "the Snipping tool".
Open the program, click "New", select the area of the screen you want to capture, and then click "Save" to screenshot on Windows 7.
You can search for the "Snipping Tool" on the "Start" screen in Windows 8 or in the search field next to the "Start" button in Windows 10.
Don't Miss: Three ways to take a screenshot on Dell
Screenshot on Android/iPhone is a useful feature you may use it every day. However, every Android phone is different, and so is taking screenshots with them. You can find your Android phone on the list below to learn how to take a screenshot on Android.
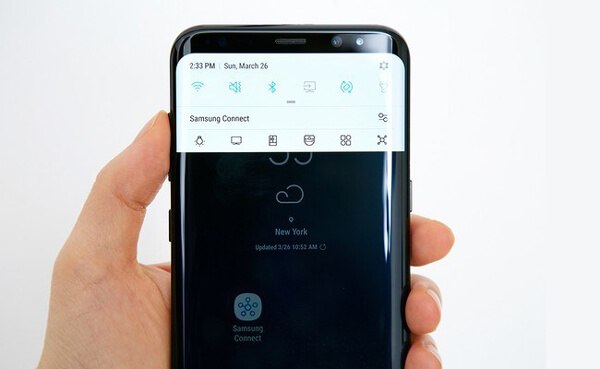
Screenshot on Galaxy S8: Hold down the "Power" and "Volume -" buttons for a couple of seconds.
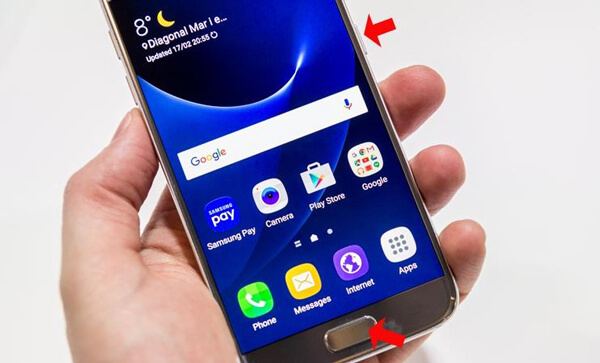
Screenshot on Galaxy S7/S6/S5/S4: Press the "Home" and "Volume -" buttons for several seconds. You can see the screen is captured.
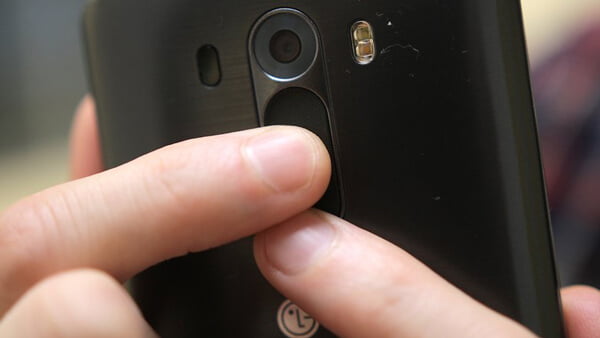
Hold down the "Home" and "Volume -" buttons for a couple of seconds. Also, you can pull down the notification panel and tap the Capture+ icon to screenshot on LG.
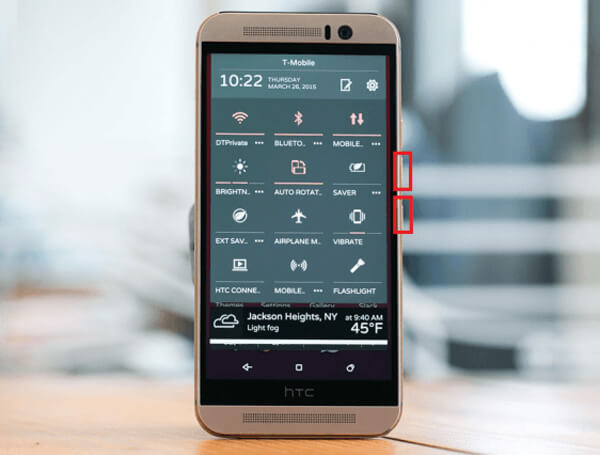
Press down "Power" and "Volume down" buttons at the same time and keep holding them.
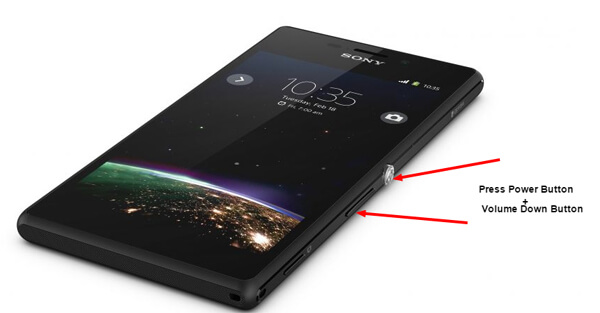
Press and hold together "Power" and "Volume down" buttons until you see the screen is captured.
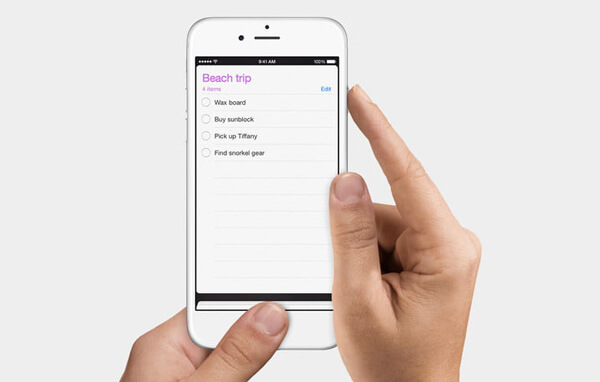
If you are an iOS user and want to take a screenshot on iPhone X/8/7/6/5/4 or iPad Pro/Air 2/mini 4, you can do that with ease.
Press the Sleep/Wake and Home buttons at the same time, you can easily screenshot on iPhone and iPad.
To find your screenshot, you can open Photos > Albums > Camera Roll.
In this article, we mainly talk about how to screenshot. Whether you want to take a screenshot on Windows 10/8/7/XP computer, Mac, or Android/iOS device, you can easily find the right methods from this page.