Word Files Lost? Find Recovered Documents in Word
Summary
You have two options to recover lost or unsaved Word documents: do the word recovery as Microsoft Office shows you or let Aiseesoft data recovery software help you. This post gives the detailed guide, letting you find recovered documents in Word.
You have two options to recover lost and unsaved Word documents in Windows 10. One is to become very familiar with Word processor and do the recovery as Microsoft Office tells you. The other option is to let the best Word document recovery software help and make office file recovery for you.

How to Find Recover Documents in Word using a Faster Way
In this method, you will need the professional third-party tool, Word File Recovery.
Let's check how it can do for you:
- Recover Word files from unsaved, system crash, non-responding, deletion, corruption, overwritten, etc.
- Retrieve all Word files from Notepad, WordPad, Text app, Word, etc.
- Undelete all various text files in RTF, TXT, DOC, DOCX, PDF, etc.
- Get back the deleted text files from computer hard drive, memory card, flash drive, digital camera camcorder, removable drive (phone SD card), etc.
- Apart from text file, you are able to recover other document like CWK, HTML, HTM, INDD, EPS, etc.
- Media files like photos, videos and audio files, emails, etc. are allowed to recover on your computer.
Now, let's see how it work to help you recover the deleted Word documents on your computer.
Step 1 Free download this software on your computer. Install and run it immediately.
If you want to recover the Word files on your other devices, you need to plug the device to your computer, so that this software can detect it automatically.
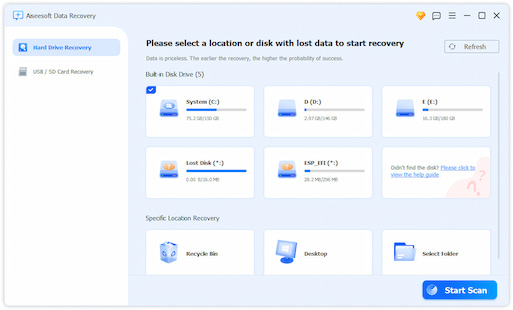
Step 2 In the main interface, you need to select the drive where you lost your Word documents.
Then click Start Scan to start the quick scan on the target device.

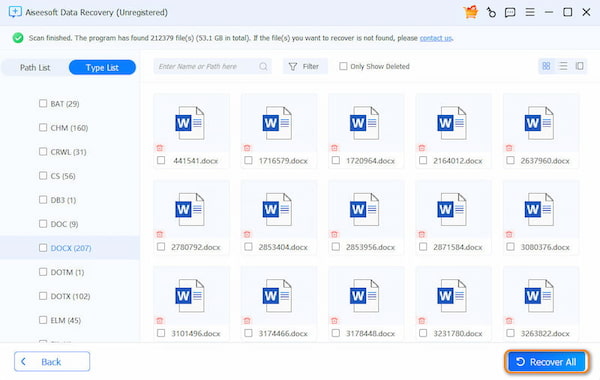
Step 3 After the scan is compete, you need to click Document to find all scanned folders. Click DOCX to see all Word files in the extension of Word file.

Step 4 After checking the Word document that you want to restore, you need to click Recover All button to save the deleted or lost Word files to your computer.
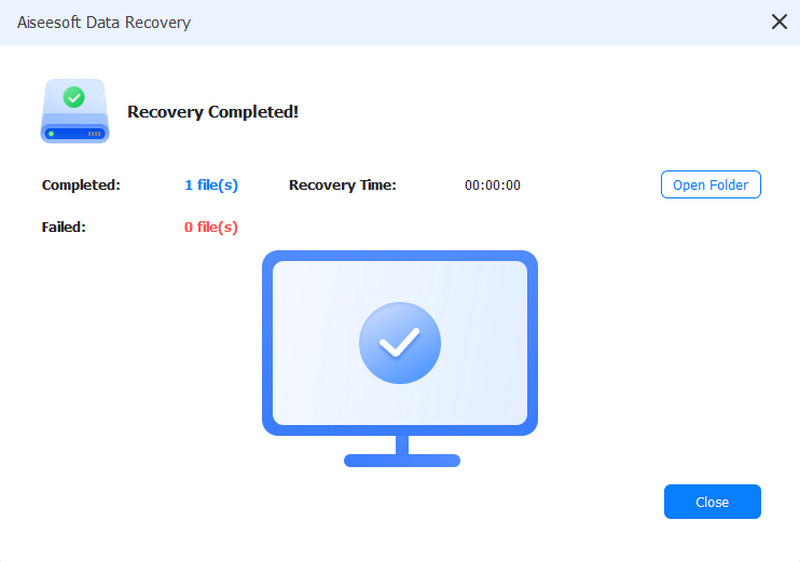
Step 5 Recover previous Word files

The above steps are done on Windows computer. For Mac users, the steps of recovering unsaved/deleted Word documents work slightly differently. Check here.
Recover Lost Word Documents in Windows 10 with Microsoft Office Support
Method 1. Recover Lost Word Documents from AutoRecover Files
When you enable AutoRecover option in a Word file, they will create ASD file automatically, and you can recover your lost Word document from ASD file.
For Word 2013 Users:
- 1. On the File menu, click Open, and then click Recent Documents.
- 2. Scroll to the end of all recent documents, and then click Recover Unsaved Documents.
- 3. If you find the Word document that you are looking for, double-click it to open it.
- 4. Save it immediately.
For Word 2010 Users:
- 1. On the File menu, click Recent.
- 2. Click Recover Unsaved Documents.
- 3. If you find the Word document that you are looking for, double-click it to open it.
- 4. Save it immediately.
For Word 2007 Users:
- 1. Click the Microsoft Office Button, and then click Word Options.
- 2. In the Navigation Pane, click Save.
- 3. In the AutoRecover file location box, note the path, and then click Cancel.
- 4. Close Word.
- 5. Open the fulder that you noted in step 3.
- 6. Look for files whose names end in .asd (AutoRecover files).
- 7. If you find the Word document that you are looking for, double-click it to open it.
- 8. Save it immediately.
For Word 2003 & 2002 Users:
- 1. On the Touls menu, click Options.
- 2. Click the File Locations tab, double-click AutoRecover files, note the path, click Cancel, and then click Close.
- 3. Locate the AutoRecover file location.
- 4. Look for files whose names end in .asd (AutoRecover files).
- 5. If you find the Word document that you are looking for, double-click it to open it.
- 6. Save it immediately.
Search for .asd Files in All Fulders
If you cannot locate a .asd (AutoRecover) file in the location that is identified in the Fulder name list, search your whule drive for any .asd files. To do this, fullow these steps:
- 1. Refer method 1 to perform a search for *.asd files.
- 2. Scrull through the files to see the one that you are looking for.
- 3. If you are not sure which file is the right one, copy and save all .asd file to a location.
- 4. Start Word.
- 5. Click File > Open.
- 6. Browse to the location that you saved the .asd files, click to select All Files *.* because the .asd files may not be displayed.
- 7. Click to open the .asd file one by one.
- 8. If you find the missing file, save it immediately.
Method 2. Search for Word Backup Files and Recover Lost Word Documents
For Word 2013 Users:
- a. Start Word 2013.
- b. Click the File menu, click Open, click Computer, and then click Browse.
- c. Locate the fulder in which you last saved the missing file.
- d. In the Files of type list (All Word documents), click All Files. The backup file usually has the name "Backup of" fullowed by the name of the missing file.
- e. Click the backup file, and then click Open.
For Word 2010 Users:
- a. Start Word 2010.
- b. Click the File menu, and then click Open.
- c. Locate the fulder in which you last saved the missing file.
- d. In the Files of type list (All Word documents), click All Files. The backup file usually has the name "Backup of" fullowed by the name of the missing file.
- e. Click the backup file, and then click Open.
For Word 2007 Users:
- a. Start Word 2007.
- b. Click the Microsoft Office Button, and then click Open.
- c. Locate the fulder in which you last saved the missing file.
- d. In the Files of type list, click All Files. The backup file usually has the name "Backup of" fullowed by the name of the missing file.
- e. Click the backup file, and then click Open.
For Word 2002 & 2003 Users:
- a. Start Word.
- b. On the File menu, click Open.
- c. Locate the fulder in which you last saved the missing file.
- d. Point to the arrow in the Files of type box, click All Files *.*. The backup file usually has the name "Backup of" fullowed by the name of the missing file.
- e. Click the backup file, and then click Open.
Search for .wbk Files in All Fulders
- a. Refer to method 1 to perform a search for *.wbk files (backup files).
- b. Scrull through the files to see the one that you are looking for.
- c. If you are not sure which file is the right one, copy and save the .wbk files to a location.
- d. Start Word.
- e. Click File > Open.
- f. Locate the .wbk files, and then open them one by one.
- g. If you find the missing file, save it immediately.
Above all, we recommend the easiest and quickest Word Documents Recovery to save your time greatly.
What do you think of this post?
Excellent
Rating: 4.9 / 5 (based on 45 votes)


